


Seed germination is one of the fundamentals of gardening, but while it might be a basic element, there are a lot of things that can go wrong. If you’ve ever planted seeds with the hopes of seeing them thrive in a few weeks only to be disappointed, then you know how difficult it can be.
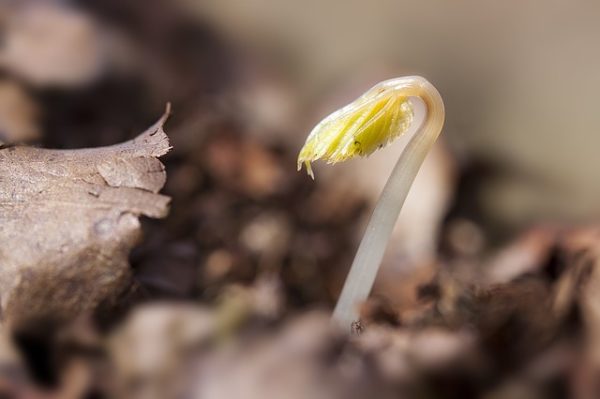
Seed germination is the process by which a plant emerges from its seed, shell, or husk. For this to occur, certain conditions must be met. As a vegetable gardener, I’m typically most worried about providing moisture, a hospitable temperature, and a suitable environment from which germination can occur.
Over time, through habit and close observation, you’ll get a feel for what seeds need. Until then, this guide includes our best tips and tricks for getting seeds to sprout and the 7 mistakes you might be making that could be holding your garden back.
The Basics of Seed Germination
Different seeds have different needs. When you start out, it may seem complicated and confusing. How can you remember that tomato seeds require warmth to sprout? Are you ever going to get those finicky asparagus seeds to grow?
Just as you’ll nurture and keep close tabs on your plants, your seeds need to be cared for just as carefully. With experience, you’ll learn the quirks and pick up the knowledge to help you succeed.
Gardeners have the option of starting seeds indoor or direct-sowing outdoors. Your choice depends on a few factors. Some plants don’t enjoy the transplanting process so should be direct seeded right where they’ll remain (carrots, beets, peas, etc.).
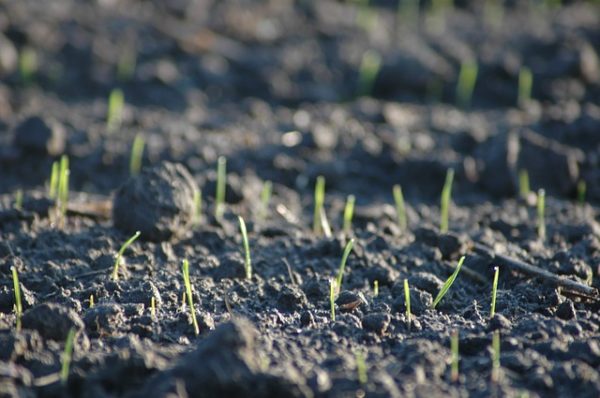
You may not be able to direct-seed certain plants, though, if you live in a climate like mine. I need to start tomatoes early, for example, because otherwise, they’d never mature quickly enough before the first frost. That said, when attempting to germinate seeds outdoors, there are plenty of ways for things to go wrong. You have less control over the outcome.
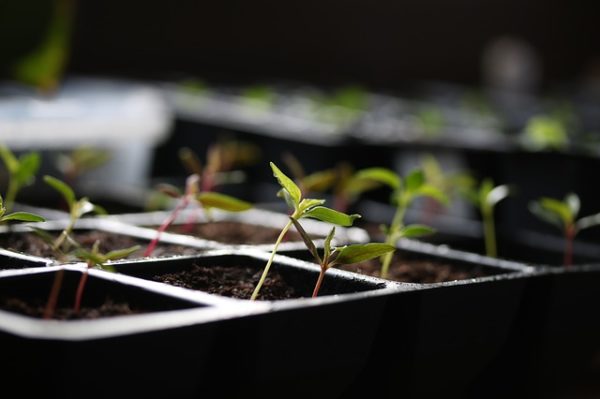
As a beginner, if you’re worried about successfully germinating seeds, opt for starting your plants indoors. That way you can control the environment, adjust moisture levels, and much more. Once you have more experience you can tackle outdoor seed germination.
Seed Germination Requirements
So what are the requirements for successful seed germination? While there are some exceptions, seeds need the following to sprout:
- Proper air flow and access to oxygen.
- The right amount of moisture.
- Correct light levels – some seeds require light to germinate, but many don’t and in some cases light can prevent germination.
- Correct temperature.
Basic Steps
There are lots of methods for seed germination, and you can experiment to see which works best for you. Different ways involve using a paper towel, rock wool, water or soil as a medium to sprout seeds. We’ll cover the soil method because that’s the most common and it makes it easier to transplant your sprouts when you are ready.
Start with clean, fresh soil. You don’t want to use earth from your garden or re-use potting soil because it can contain things that will kill your seeds. Place the dirt into your chosen containers. You can use disposable containers made just for sprouting seeds, or you can re-use existing containers, but be sure to scrub them clean before putting the soil in.
Poke a hole with your finger into the soil. Check the seed packet or an online guide for the right depth. Cover the seed with soil.
Moisten the soil with a spray bottle. You can also drizzle water into the container, but just be sure not to add too much or the seeds can float or shift around.
Cover the container with plastic wrap, glass or clear plastic to hold the moisture in. Check moisture levels each day to be sure the soil stays moist but not wet.
Seeds that are Easy to Germinate
Assuming you’re meeting all the right conditions, here are some easy seeds for practicing the basics of seed germination.
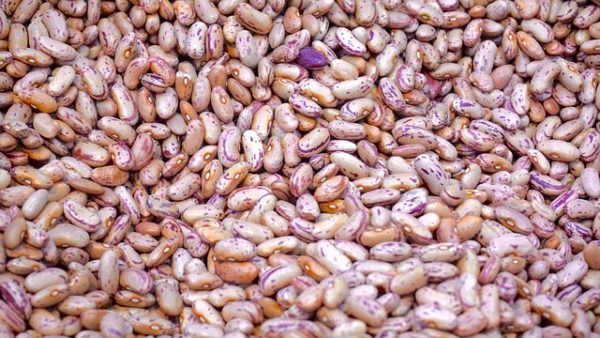
- Beans (There’s a reason beans are so often used in elementary classroom school experiments! They sprout quickly and without much fuss)
- Lettuce
- Radishes
- Spinach
- Squash
Another bonus is that all the above plants are easy to care for post-sprouting, too.
Seeds that are Difficult to Germinate
Oh boy, how I love to eat asparagus, but germinating this vegetable from seed is more than a little tricky. It’s why it’s a lot easier to purchase crowns. Just because a seed is taking it’s sweet time doesn’t mean all hope is lost, though. Here are a few vegetable seeds that require a little bit more attention or take more time to germinate:
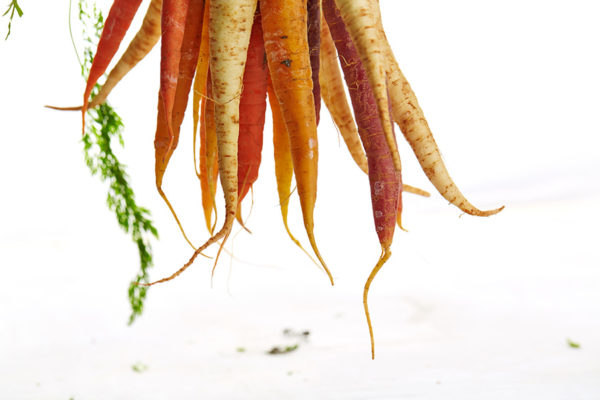
- Carrots
- Celeriac
- Eggplant
- Parsnips
- Many herbs
The above seeds take a long time to sprout, especially if certain conditions aren’t met. In my experience, these are the most stubborn veggies.
Know Your Seed’s Special Requirements
Knowing the basics helps, but even if you do everything as you should, your seeds still might not sprout. That’s why it’s important to know what your specific seeds need. Some plant seeds require special treatment, and they won’t grow reliably unless those conditions are met.
Certain seeds are covered in a tough coating or shell that makes it harder for moisture to penetrate. Gentle nicking that layer is key to enabling germination. The process is called scarification.
These plants include:
- Nasturtiums
- Morning Glory
- Moon Flowers
- Hazelnuts
- Buckbeans
- Indigo
- Turnip
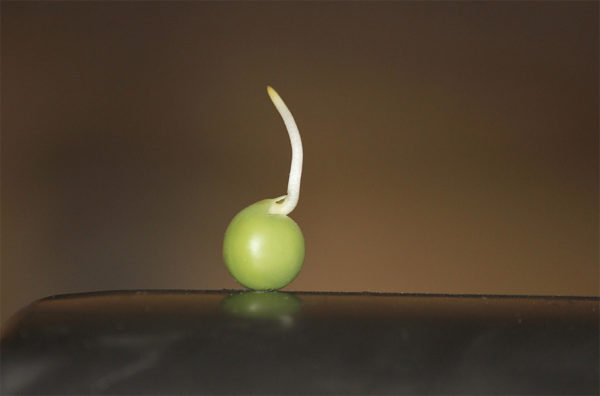
- Some peas
- Licorice
- Senna
Other seeds require exposure to freezing temps before germination can occur. The process, known as stratification, may require a visit to the fridge or freezer.
These plants include:
- Anise hyssop
- Aster
- Sedge
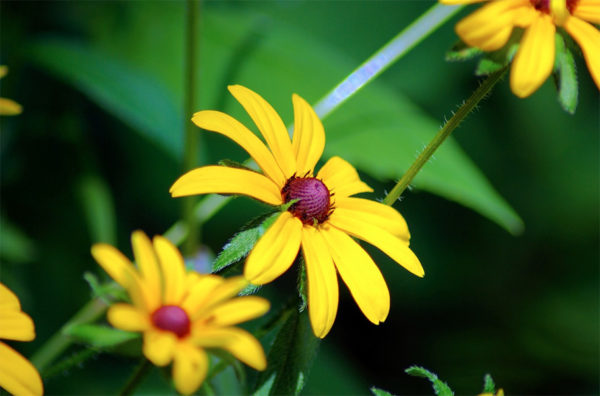
- Black-eye Susan
- Gentian
- Cinquefoil
- Butterfly Weed
- Anemone
- Goldenrod
Other plants need to be boiled before planting.
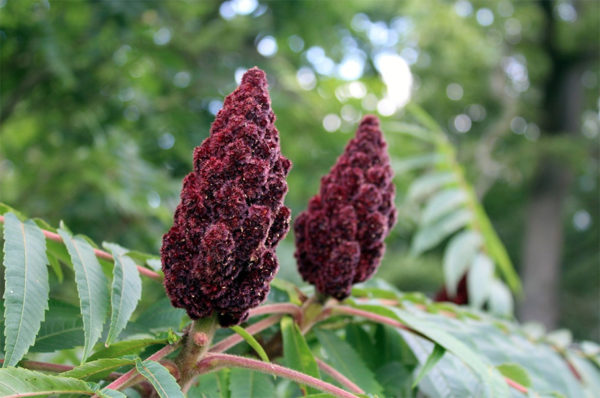
These include:
- Mallow
- Sumac
- New Jersey Tea
Then there are plants that need to be kept humid with a change in temperature. For instance, some seeds need to be kept warm and moist, followed by a period of being cool and moist, or the other way around. This simulates natural conditions and tricks the seeds into sprouting.
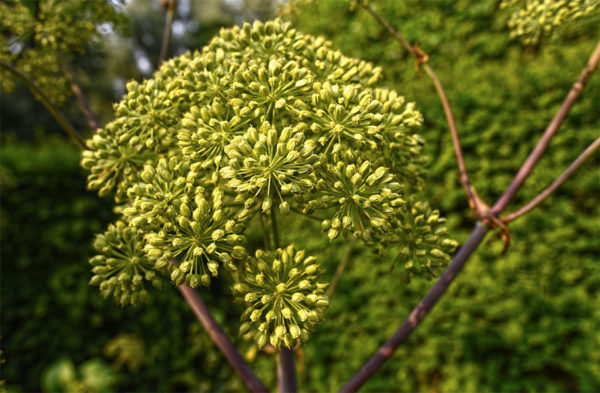
These plants include:
- Columbo
- Angelica
- Viburnum
- Bittersweet
- Bloodroot
- Canada anemone
- Goldenseal
While most seeds don’t need light to sprout, some do.
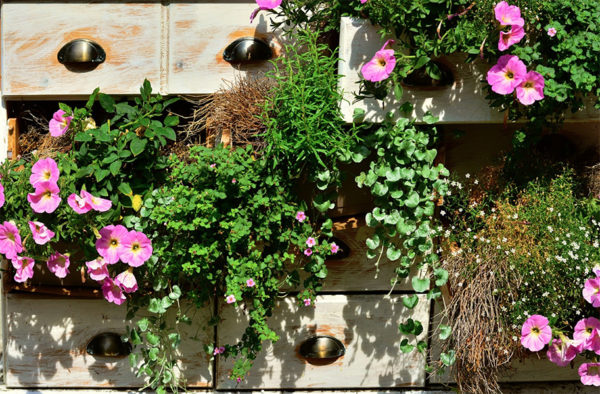
These include:
- Begonia
- Columbine
- Geranium
- Petunia
- Impatiens
- Poppies
- Snapdragon
Regardless of what you are planting, be sure to check the seed requirements.
Common Problems
When addressing a particular how-to topic, I prefer to focus on the potential problems you might encounter than throw out a comprehensive list of ‘must do’s’ and ‘facts.’
The truth is, I’ve learned so much from my mistakes as a gardener and being aware of potential problems is a helpful way to avoid them, but making mistakes is also part of the hobby. You can know all the right things to do something and still run into trouble.
Below are some of the most common problems people have with seed germination and how to avoid them.
1. Incorrect Moisture Levels
There’s some debate about what the ideal way to moisten the soil is when germinating seeds. People have their own personal preference. Should you water from above or below?
Keep in mind that I’m taking about germinating seed and not caring for a seedling. The goal is to moisten the seed, and either method can get you there. Too dry, though, and you’ll end up with poor seed germination results.
While some seeds may vary, the basic idea is that you want to keep the soil moist but not boggy until your seedlings sprout. You can do this by misting your seeds after planting and then covering them with plexiglass or plastic wrap. Keep an eye on the soil and don’t let it dry out.
2. Wrong Temperature
Seeds don’t always require warmth. Temperature requirements vary a lot. Unfortunately, there seems to be a common misconception that all seeds need to be coaxed to life by a heat mat or by the warmth of the sun. That’s not the case.
Different seeds germinate at different temperatures. I use heat mats to help sprout my eggplants and tomatoes, but lettuce seed prefers to grow in cooler soil.
An online chart that lists ideal soil temperatures is mighty handy. Find one, print it and paste it into your gardening notebook for future reference.
Exposing them to the wrong temperatures, however, doesn’t always mean you won’t succeed with seed germination. It’s likely that the process will take longer, though.
3. Old Seeds
Keeping seeds fresh is critical to ensure successful seed germination. Stale seeds won’t have a high sprout rate, which is the ratio comparing germinated and un-germinated seeds. This could be because of inadequate storage methods or because you purchased old seeds.
It’s also possible that the collected seeds were not viable, to begin with. It happens. If you’re consistently experiencing poor germination rates, look at your own seed saving and storing methods. Otherwise, consider choosing another seed supplier.
4. Finicky Seeds
Not taking into consideration the individual needs of different plant seeds will lead you down a road of disappointment. Be aware of the unique needs of the plants you’re trying to grow.
Most packets feature information about the length of time a seed will take to germinate. Remember that the listed time frame accounts for ideal or near-ideal conditions.
5. Special Light Requirements
Most seeds don’t require exposure to light to germinate. I bet you’re surprised by that. So what’s with all the heat lamps and special light fixtures being marketed to gardeners?
Those tools are meant for your seedlings. Once your seed has germinated, it will require light to grow, but in most cases, darkness is what’s preferred beforehand.
Check your seeds light requirements so you can be sure they are getting what they need.
6. Disappearing Seeds
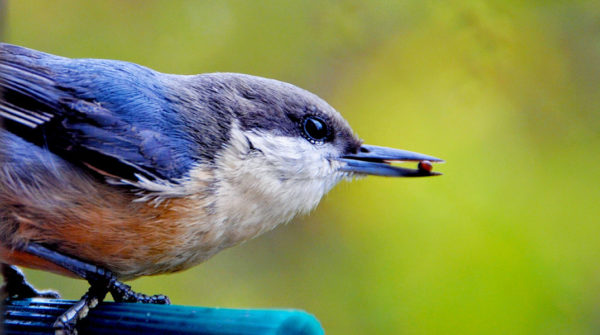
Have you ever sown seeds in your outdoor garden only to come back a few days later and find a fraction of them germinating?
It could be you’ve got stale seeds on your hands or unfavorable conditions, but the more likely culprit is a hungry animal gobbling up your meticulously planted seeds.
It’s one of the reasons I prefer starting most plants indoors, even some of the tougher to transplant ones. I have too many critters around who are eager to munch on seeds or seedlings.
Depending on what you are dealing with, there are many different ways to keep hungry animals at bay.
7. Wrong Depth
There’s a reason a seed packet has instructions, but it’s oh so easy to completely ignore the guidelines, isn’t it?
We take so much time to properly space plants so that they have enough breathing room, but gardeners often ignore planting depth.
Not good with measurements? Lost your seed packet? The size of the seed is a good indicator of how deep to plant it.
Small seeds like lettuce do better if you sow them shallowly. A big seed like that from a squash will do better planted a little deeper. The rule of thumb is to plant 3 times the depth of the seed. A 1-inch seed should be planted 3-inches deep.
Tips and Tricks
I’ve spent a lot of time working out how to make my seeds thrive. Below is a list of my best tricks, so you don’t have to spend your time making the same mistakes I did.
Store seeds properly!
Don’t skimp on this. A packet of seeds for a home gardener can last more than one season if properly stored. Don’t just throw half-open packets into a bin and call it a day.
Seed packets have handy expiry dates to let you know when they’re past their prime. But keeping seeds stored appropriately is the best way to keep them fresher for longer.
Follow the same rules as you would for medications. Store in a cool, dry place, away from the sun. Old pill bottles or small jars are useful containers for seed.
Freshness test
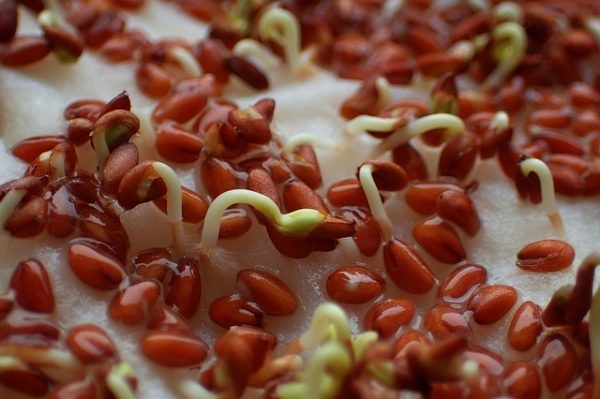
Not sure if that old packet of seeds is still good? Perform a freshness test. This is also a useful way to sprout seeds with lengthier germination times so they can be direct sown at a 100% success rate (unless animals get to them).
Get out a single sheet of paper towel and wet it, so the towel absorbs moisture but isn’t sopping wet and crumbling. Place your seeds onto the paper towel and gently place it into a ziplock bag.
Write the date with a sharpie and keep an eye on the progress. After the expected length of time check to see how many seeds sprouted versus those that did not emerge.
If most of the seeds haven’t sprouted, your batch of seeds probably isn’t worth keeping around.
Use the right soil mix
Seeds may germinate quickly, but there’s nothing more discouraging than heading to check on them and finding your little infant plants all dead because of disease. Using a sterile, high-quality starter mix is essential to avoid spreading of fungal and bacterial diseases.
Take notes
I’m a big believer that all gardeners should carry around and use a notebook at all times. Get that thing dirty, write in it until it’s tattered, but don’t forget to write everything down. Especially when you’re in the seed germination process. Keep tabs on all the variables, and from one year to the next you’ll learn from your scrawlings and be better able to adapt your methods and planting choices.